
Asphalt Crack Repair Tips: How to Repair Cracked Asphalt Driveway
- Manvir Saini
- May 8
- 4 min read

Cracks in asphalt driveways are a common issue that can lead to more serious damage if left unattended. Repairing these cracks promptly preserves the driveway’s integrity and extends its lifespan. I will guide you through the essential steps and tips for effective asphalt crack repair. This information is practical, straightforward, and designed to help you maintain a durable, safe driveway.
Understanding Asphalt Crack Repair Tips
Before starting any repair, it is important to understand the types of cracks and the best methods to fix them. Asphalt cracks vary in size and cause, and each requires a specific approach.
Hairline cracks are thin and usually caused by surface wear.
Alligator cracks look like a series of interconnected cracks and indicate structural failure.
Edge cracks appear along the edges and often result from poor drainage or lack of support.
Longitudinal cracks run parallel to the pavement’s centerline and may be caused by poor construction or temperature changes.
Knowing the crack type helps determine the right repair material and technique. For small cracks, crack filling is sufficient. Larger cracks or alligator cracking may require patching or resurfacing.
Tools and Materials Needed
Asphalt crack filler or patching compound
Wire brush or broom
Chisel and hammer (for removing loose debris)
Hot or cold pour crack filler (depending on crack size)
Trowel or putty knife
Protective gloves and safety glasses
Asphalt sealer (optional for finishing)
Having the right tools and materials ready ensures a smooth repair process.

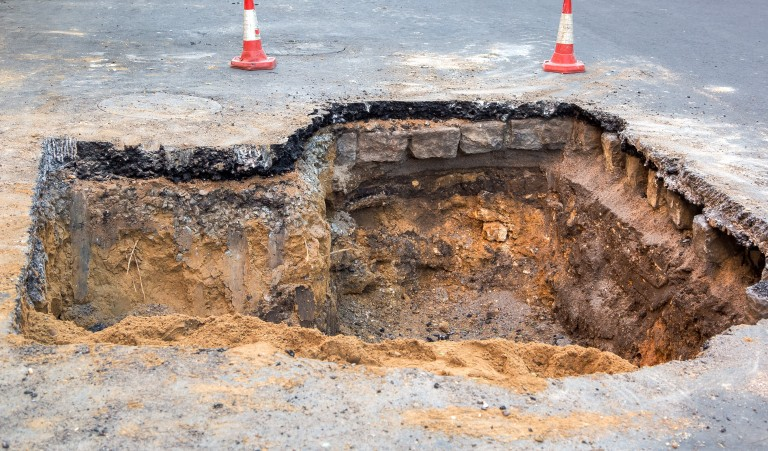
Can a Cracked Asphalt Driveway Be Repaired?
Yes, a cracked asphalt driveway can be repaired effectively if the damage is addressed early. Repairing cracks prevents water infiltration, which can cause potholes and further deterioration. However, the success of the repair depends on the crack size, depth, and underlying damage.
Small cracks (less than 1/2 inch wide) respond well to crack filling.
Medium cracks (1/2 inch to 1 inch) may require routing and sealing.
Large cracks and alligator cracking often need patching or full-depth repair.
If the driveway shows extensive cracking or sinking, resurfacing or replacement might be necessary. Regular inspection and maintenance help catch cracks early and reduce repair costs.
Step-by-Step Guide to Repairing Asphalt Cracks
I follow a clear, step-by-step process to repair asphalt cracks. This method ensures the repair lasts and prevents further damage.
Step 1: Clean the Crack
Remove all dirt, debris, and loose asphalt from the crack. Use a wire brush or broom to clean the area thoroughly. For deeper cracks, use a chisel and hammer to remove loose material. Cleaning ensures the filler adheres properly.
Step 2: Prepare the Crack Filler
Choose the appropriate crack filler based on the crack size. For small cracks, cold pour filler works well. For larger cracks, hot pour filler provides better durability. Follow the manufacturer’s instructions to prepare the filler.
Step 3: Fill the Crack
Apply the crack filler evenly into the crack using a trowel or putty knife. Overfill slightly to allow for settling. Smooth the surface to match the surrounding asphalt. Avoid leaving gaps or air pockets.
Step 4: Allow to Cure
Let the filler cure according to the product instructions. This usually takes 24 to 48 hours. Keep traffic off the repaired area during this time to ensure proper bonding.
Step 5: Seal the Driveway (Optional)
After the filler cures, apply an asphalt sealer over the entire driveway. Sealing protects the surface from UV rays, water, and chemicals. It also improves the driveway’s appearance and extends its life.

Preventive Measures to Avoid Future Cracks
Repairing cracks is essential, but preventing new ones is equally important. I recommend these preventive measures to maintain a strong asphalt driveway:
Regular cleaning: Remove debris and dirt to prevent water accumulation.
Proper drainage: Ensure water drains away from the driveway edges.
Sealcoating: Apply sealcoat every 2-3 years to protect the surface.
Avoid heavy loads: Limit heavy vehicle traffic that can stress the asphalt.
Prompt repairs: Address small cracks immediately before they worsen.
Implementing these steps reduces the risk of cracks and costly repairs.
When to Call a Professional for Asphalt Crack Repair
While many cracks can be repaired with DIY methods, some situations require professional expertise. I recommend contacting a professional if:
Cracks are wider than 1 inch or very deep.
The driveway has extensive alligator cracking or sinking.
Previous repairs have failed repeatedly.
You need a full driveway resurfacing or replacement.
Professionals have the equipment and experience to handle complex repairs and ensure long-lasting results. They also provide warranties and quality assurance.
For those looking for expert guidance on how to repair cracked asphalt driveway, consulting a trusted local company ensures the job is done right the first time.
Maintaining Your Asphalt Driveway After Repair
After repairing cracks, ongoing maintenance is key to preserving your driveway’s condition. I suggest:
Inspecting the driveway twice a year for new cracks or damage.
Cleaning the surface regularly to remove oil stains and debris.
Applying sealcoat every few years to protect the asphalt.
Avoiding parking heavy equipment or vehicles in the same spot for long periods.
Consistent maintenance extends the life of your driveway and protects your investment.
By following these asphalt crack repair tips and steps, you can keep your driveway in excellent condition. Timely repairs, proper materials, and preventive care make all the difference. Whether you choose to do it yourself or hire a professional, addressing cracks early saves money and prevents bigger problems down the road.

Comments